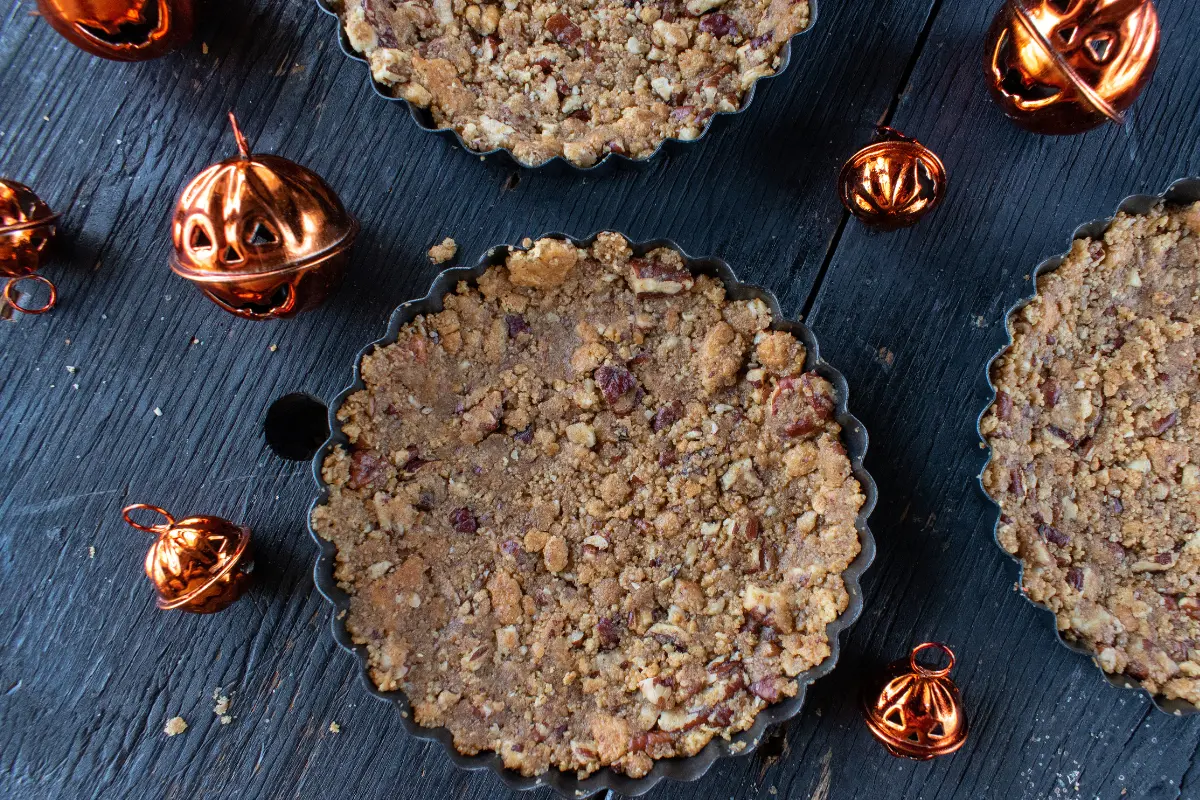
If you’ve ever indulged in a luscious slice of pie or a heavenly cheesecake, chances are you’ve experienced the delight of a perfectly crafted graham cracker crust.
This delectable foundation not only enhances the overall taste but also adds a delightful crunch to your favorite desserts.
In this article, we’ll take you through the step-by-step process of creating your own homemade graham cracker crust.
Get ready to elevate your baking game!
Gathering Your Ingredients
To start our culinary adventure, let’s gather the essential components for crafting the perfect graham cracker crust:
Ingredients
- Graham crackers (2 cups, crushed)
- Unsalted butter (1/2 cup, melted)
- Sugar (1/4 cup, granulated)
Preparing Your Workspace
Now that we have all our ingredients lined up, it’s time to get our workspace ready.
Preparing the kitchen is a crucial step in ensuring a smooth baking process.
Set the Stage:
- Clean and Organize: Begin with a clean, clutter-free countertop.
- Preheat the Oven: Set your oven to 350°F (175°C).
Crushing and Mixing
Let’s dive into the fun part – crushing those graham crackers and creating a mix that will form the base of our crust.
Crushing the Crackers
Break the Crackers: Place the graham crackers in a sealed bag and crush them using a rolling pin.
Consistency is Key: Aim for finely crushed crumbs for a smoother crust.
Combining the Ingredients
Mixing Bowl Magic: In a mixing bowl, combine the crushed graham crackers, melted butter, and sugar.
Stir and Press: Stir the mixture until it resembles wet sand.
Press it firmly into the bottom of your pie or cake pan.
Baking Perfection
Now that our crust is ready to roll, it’s time to bake it to golden perfection.
Baking Instructions:
- Bake It Right: Place the crust in the preheated oven for 8-10 minutes or until golden brown.
- Cool It Down: Allow the crust to cool completely before adding your favorite filling.
Variations and Flavor Boosts
Get creative with your graham cracker crust by experimenting with different variations and flavor enhancements.
Flavorful Twists
- Chocolate Infusion: Add cocoa powder to the crust mixture for a chocolatey kick.
- Spice it Up: Mix in a pinch of cinnamon or nutmeg for a warm, aromatic touch.
Decorating the Crust
The beauty of a graham cracker crust lies not only in its taste but also in its presentation. Here’s how you can make it visually appealing.
Decorative Tips:
- Edge Embellishments: Use a fork to create a decorative edge for your crust.
- Brush of Sweetness: Brush the cooled crust with melted chocolate for an extra layer of flavor.
Conclusion
Congratulations! You’ve just mastered the art of creating a mouthwatering graham cracker crust.
Whether you’re whipping up a classic cheesecake or a fruity tart, this versatile crust is sure to elevate your dessert game.
Get ready to impress your friends and family with your newfound baking prowess!
FAQs
Q1: Can I use a different type of cracker for the crust?
Yes, feel free to experiment with different crackers.
However, graham crackers are the classic choice for a reason!
Q2: Can I make the crust in advance?
Absolutely! You can prepare the crust a day or two ahead and store it in the refrigerator until you’re ready to use it.
Q3: Can I use margarine instead of butter?
While butter provides a richer flavor, margarine can be used as a substitute if needed.
Q4: How do I prevent the crust from sticking to the pan?
Ensure you press the crust firmly into the pan, creating a solid base.
You can also consider greasing the pan lightly before pressing in the mixture.
Q5: Can I freeze the crust for later use?
Yes, the graham cracker crust freezes well.
Just wrap it tightly in plastic wrap and store it in the freezer for up to a month.
Now, armed with this foolproof guide, go ahead and add that extra layer of deliciousness to your desserts with a homemade graham cracker crust!

