
Welcome to the delightful world of homemade stabilized whipped cream! If you’ve ever found yourself frustrated with whipped cream that deflates too quickly or loses its texture, worry not.
In this guide, we’ll walk you through the process of creating the perfect stabilized whipped cream that holds its shape, making it a versatile and long-lasting topping for your favorite desserts.
Why Stabilized Whipped Cream?
Before we dive into the nitty-gritty of the process, let’s discuss why stabilized whipped cream is a game-changer.
Traditional whipped cream tends to lose its fluffiness after a short while, especially if you’re using it to top pies, cakes, or other desserts.
Stabilizing whipped cream helps it maintain its structure, ensuring a luscious and creamy texture for an extended period.
Ingredients You’ll Need
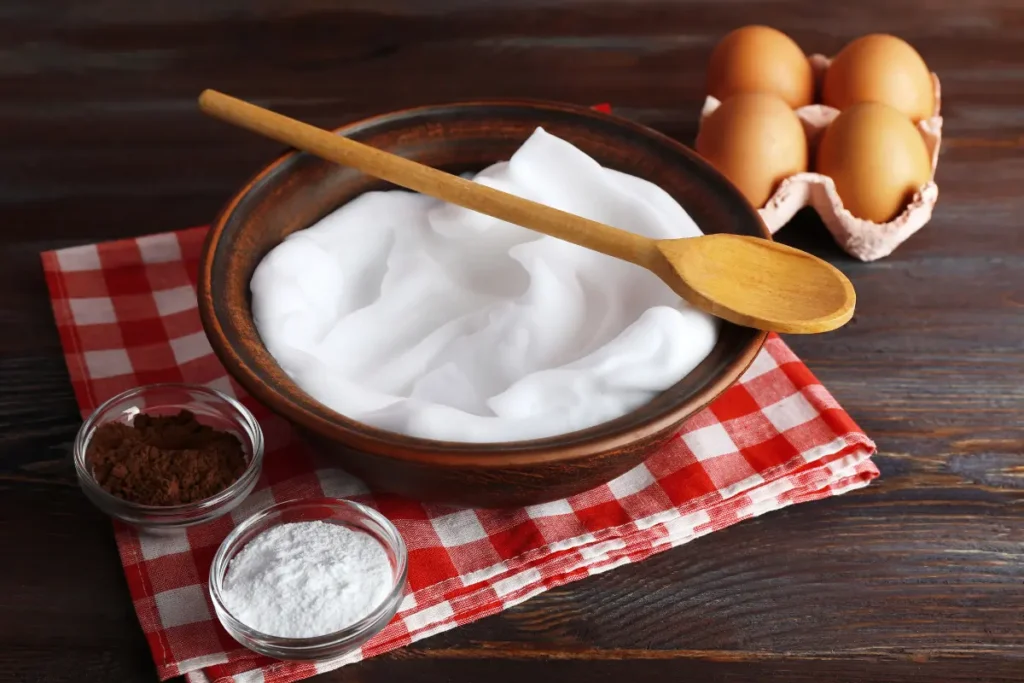
- Heavy cream (1 cup)
- Confectioners’ sugar (2 tablespoons)
- Vanilla extract (1 teaspoon)
- Cornstarch (1 teaspoon)
Equipment
- Mixing bowl
- Electric mixer
- Sifter
Step 1: Gather Your Ingredients
Start by collecting all the necessary ingredients.
Having everything ready will make the process smoother, and you won’t risk overmixing your whipped cream.
Step 2: Chill Your Equipment
Place your mixing bowl and beaters or whisk attachment in the refrigerator for about 15-30 minutes.
This step ensures that everything is sufficiently cold, aiding in the whipping process.
Step 3: Combine Heavy Cream and Sugar
Pour the heavy cream into the chilled mixing bowl and add the confectioners’ sugar.
The sugar not only sweetens the whipped cream but also contributes to stabilizing it.
Step 4: Whip Until Soft Peaks Form
Using an electric mixer, start whipping the cream at medium speed.
Keep a close eye on the consistency, and once soft peaks begin to form, you can proceed to the next step.
Step 5: Add Vanilla Extract
Gently fold in the vanilla extract.
This step adds a subtle flavor to your whipped cream, enhancing its overall taste.
Step 6: Sift in Cornstarch
Sift the cornstarch into the whipped cream.
This secret ingredient is the key to stabilization, preventing the whipped cream from deflating too quickly.
Step 7: Continue Whipping
Resume whipping the cream until it reaches stiff peaks.
Be cautious not to overmix, as this can lead to a grainy texture.
Step 8: Taste and Adjust
Give your stabilized whipped cream a taste.
If you prefer it sweeter, add a bit more confectioners’ sugar and mix gently.
Step 9: Use Immediately or Refrigerate
Your stabilized whipped cream is ready to be used as a delightful topping for pies, cakes, or any dessert of your choice.
If not using it immediately, store it in the refrigerator until needed.
Conclusion:
Making stabilized whipped cream may seem like a small step, but it elevates your dessert game significantly.
The added stability ensures a lasting and delicious topping for your sweet creations.
So, go ahead and whip up this simple recipe to take your desserts to the next level!
FAQs:
Q1: Can I use a hand whisk instead of an electric mixer?
Absolutely! While an electric mixer speeds up the process, you can achieve the same results with a bit of extra effort using a hand whisk.
Q2: How long does stabilized whipped cream last in the refrigerator?
Stabilized whipped cream can last for up to 24 hours in the refrigerator without losing its texture.
Q3: Can I use a different sweetener instead of confectioners’ sugar?
Confectioners’ sugar is recommended for its fine texture, but you can experiment with alternatives like granulated sugar or even honey.
Q4: Can I freeze stabilized whipped cream?
Freezing may alter the texture, so it’s not recommended. It’s best enjoyed fresh or refrigerated.
Q5: What desserts pair well with stabilized whipped cream?
Stabilized whipped cream is a versatile topping for pies, cakes, cupcakes, fruit salads, and hot beverages like cocoa or coffee.
Experiment and find your perfect pairing!