Gluten-free baking is an art that allows those with gluten sensitivities or celiac disease to enjoy their favorite baked goods without compromise.
A gluten-free pie crust is the cornerstone of many classic desserts and savory dishes, providing a flaky and buttery base that rivals its traditional counterpart.
This recipe delivers a gluten-free pie crust that doesn’t just aim to substitute but to excel, offering a texture and taste that can impress all pie lovers.
The Ingredients: Building Blocks of Flavor and Texture
Creating a gluten-free pie crust that holds together well and offers that sought-after flaky texture involves choosing the right blend of gluten-free flours and fats.
This recipe utilizes a mix of gluten-free all-purpose flour and almond flour for a balanced texture, combined with butter for richness and ice water to bind it all together.
1 1/4 cups gluten-free all-purpose flour, 1/2 cup almond flour, 1/2 teaspoon xanthan gum (if your gluten-free flour blend doesn’t include it)
1/2 teaspoon salt, 1/2 cup (1 stick) unsalted butter, cold and diced, 4 to 6 tablespoons ice water
The Process: Crafting the Perfect Dough
Step 1: Dry Ingredients Mixture
In a large bowl, whisk together the gluten-free all-purpose flour, almond flour, xanthan gum (if using), and salt.
This mixture of flours ensures that the crust has a good structure and a hint of nutty flavor from the almond flour, enhancing the overall taste of your pie.
Step 2: Incorporating the Butter
Add the cold, diced butter to the flour mixture.
Using a pastry blender or your fingertips, work the butter into the flour until the mixture resembles coarse crumbs with some pea-sized pieces of butter remaining.
The key to a flaky crust is to keep the butter as cold as possible, which creates steam pockets during baking, leading to that desirable flaky texture.
Step 3: Adding Ice Water
Drizzle 4 tablespoons of ice water over the flour and butter mixture, using a fork to gently toss and gather the dough.
If necessary, add more ice water, one tablespoon at a time, until the dough comes together when pressed.
It’s crucial not to overwork the dough to avoid developing the xanthan gum too much, which can make the crust tough.
Step 4: Forming and Chilling the Dough
Turn the dough out onto a piece of plastic wrap and shape it into a disk.
Wrap it tightly and refrigerate for at least 1 hour, or up to 2 days.
Chilling the dough allows the flour to hydrate fully and the fats to solidify, making the dough easier to roll out and helping to prevent shrinking during baking.
Rolling Out and Baking the Crust
Once chilled, let the dough sit at room temperature for 5 to 10 minutes to soften slightly.
Roll the dough out between two sheets of parchment paper to your desired thickness, then transfer it to your pie dish.
Trim and crimp the edges as desired, and you’re ready to fill and bake according to your pie recipe’s instructions.
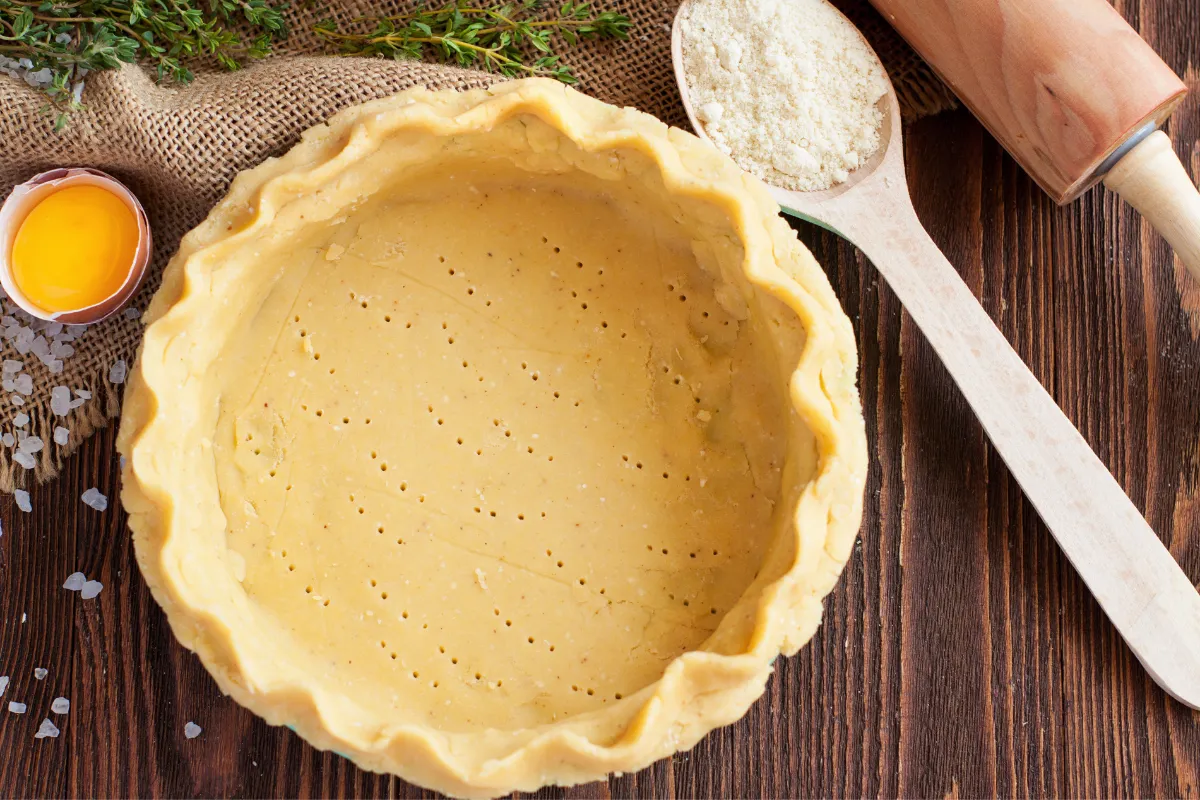
For a pre-baked crust, prick the bottom with a fork, line with parchment paper, fill with pie weights, and bake at 375°F (190°C) for 20 minutes.
Remove the weights and parchment and bake for an additional 10 to 15 minutes, or until golden.
Conclusion: A Foundation for Creativity
This gluten-free pie crust recipe is a testament to the fact that dietary restrictions don’t have to limit culinary creativity.
Whether you’re making a sweet fruit pie, a savory quiche, or anything in between, this crust provides a delicious, flaky foundation that will elevate your gluten-free baking to new heights.
FAQs
Q: Can I make this pie crust vegan?
A: Yes, to make this pie crust vegan, substitute the butter with an equal amount of cold, solid coconut oil or a dairy-free butter alternative. Be sure to check that your gluten-free flour blend is also vegan.
Q: How long can I store this pie crust?
A: The dough can be stored in the refrigerator for up to 2 days or frozen for up to 3 months. Thaw overnight in the refrigerator before using.
Q: Can I use a food processor to make the dough?
A: Yes, a food processor can be used to mix the dough. Pulse to combine the dry ingredients, then add the butter and pulse until the mixture resembles coarse crumbs. Add ice water and pulse just until the dough starts to come together. Be careful not to over-process.
Q: Is it necessary to use xanthan gum?
A: Xanthan gum acts as a binder in gluten-free baking, providing elasticity and structure to the dough
taste that everyone at the table can enjoy, regardless of dietary restrictions.
The Foundation of Flavor and Texture
Creating a gluten-free pie crust involves selecting the right blend of gluten-free flours to mimic the structure and texture provided by traditional wheat flour.
This recipe utilizes a combination of gluten-free all-purpose flour and almond flour for their complementary properties: the former for its versatility and the latter for its richness and slight nuttiness.
Ingredients:
- 1 1/4 cups gluten-free all-purpose flour
- 1/2 cup almond flour
- 1/2 teaspoon xanthan gum (if your blend doesn’t already include it)
- 1/2 teaspoon salt
- 1 tablespoon granulated sugar (for sweet pies)
- 1/2 cup (1 stick) cold unsalted butter, diced
- 1 large egg
- 2-4 tablespoons ice water
Crafting Your Gluten-Free Pie Crust
Step 1: Dry Ingredients Mixture
In a large bowl, whisk together the gluten-free all-purpose flour, almond flour, xanthan gum (if needed), salt, and sugar (if making a sweet pie).
These dry ingredients form the base of your crust, with the xanthan gum acting as a gluten substitute to provide elasticity and structure.
Step 2: Incorporating the Butter
Add the cold, diced butter to the flour mixture.
Using a pastry blender or your fingertips, cut the butter into the flour until the mixture resembles coarse crumbs with some pea-sized pieces of butter remaining.
The key to a flaky crust is keeping the butter as cold as possible throughout this process.
Step 3: Adding the Egg and Water
Beat the egg lightly in a small bowl, then add it to the flour and butter mixture, mixing gently to combine.
Gradually add ice water, one tablespoon at a time, mixing until the dough begins to come together.
Be cautious not to overwork the dough; mix just until it holds together.
Step 4: Shaping and Chilling
Turn the dough out onto a piece of plastic wrap. Gently shape it into a disk without kneading.
Wrap it tightly and refrigerate for at least 1 hour.
This chilling step is crucial as it allows the dough to rest and the fats to solidify again, which contributes to the crust’s flakiness.
Step 5: Rolling Out the Dough
On a lightly floured surface (using gluten-free flour), or between two pieces of parchment paper, roll out the dough to fit your pie dish.
Carefully transfer the rolled-out dough to the dish, pressing it into the bottom and sides without stretching it.
Step 6: Pre-Baking (Optional)
For recipes that require a pre-baked crust, prick the bottom of the crust with a fork, line it with parchment paper, and fill it with pie weights or dried beans.
Bake in a preheated 375°F (190°C) oven for 10-12 minutes, remove the weights and parchment, and bake for an additional 5-8 minutes until golden.
Serving and Storage
Once your gluten-free pie crust is baked with your chosen filling or pre-baked and cooled, it’s ready to be filled with your favorite sweet or savory ingredients.
Store any unused dough in the refrigerator for up to three days, or freeze it for longer storage. Thaw in the refrigerator overnight before using.
Conclusion: A Versatile and Welcoming Dessert Base
This gluten-free pie crust recipe opens the door to a world of baking possibilities, ensuring that dietary restrictions don’t limit creativity and enjoyment in the kitchen.
Whether you’re making a family-favorite apple pie, a savory quiche, or experimenting with new fillings, this crust provides a delicious, flaky foundation that everyone can appreciate.
Advanced Tips:
- For an extra-crispy crust, brush the dough with an egg wash (1 egg beaten with 1 tablespoon of water) before baking.
- Experiment with adding spices or herbs to the dough to complement your filling.
- Always keep ingredients as cold as possible to ensure the flakiest crust.
This gluten-free pie crust recipe demonstrates that with the right ingredients and techniques, you can create a pie crust that is not only accessible to those on a gluten-free diet but also a delightful choice for all pie lovers.